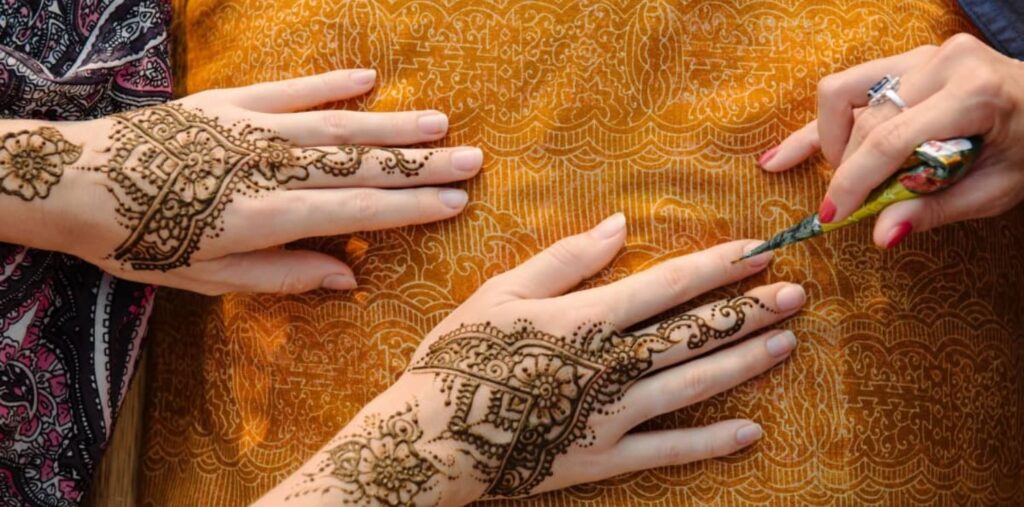

Making your own mehndi cone at home is easier than you think! Instead of buying pre-made cones that may dry out quickly or contain chemicals, you can prepare fresh, safe, and long-lasting cones right in your kitchen. In this step-by-step guide (with video reference), we’ll show you how to make a mehndi cone using plastic covers.
Whether you’re preparing for Eid, weddings, or casual henna designs, this method ensures your cone is smooth, durable, and perfect for applying beautiful patterns.
Why Make Mehndi Cones at Home?
- Fresh & Natural: Homemade cones allow you to use pure henna without chemicals.
- Cost-Effective: Plastic covers are cheap, and you can make multiple cones from one sheet.
- Customizable Size: You can create small or large cones depending on your design needs.
- Better Flow: A properly rolled cone ensures smooth henna flow.
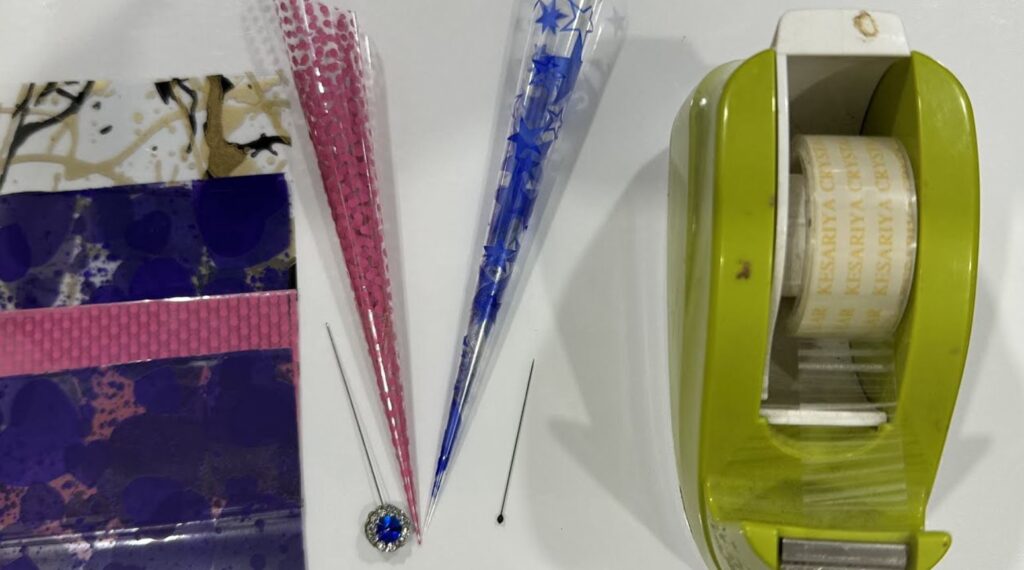
Materials You Will Need
Before we begin, gather the following items:
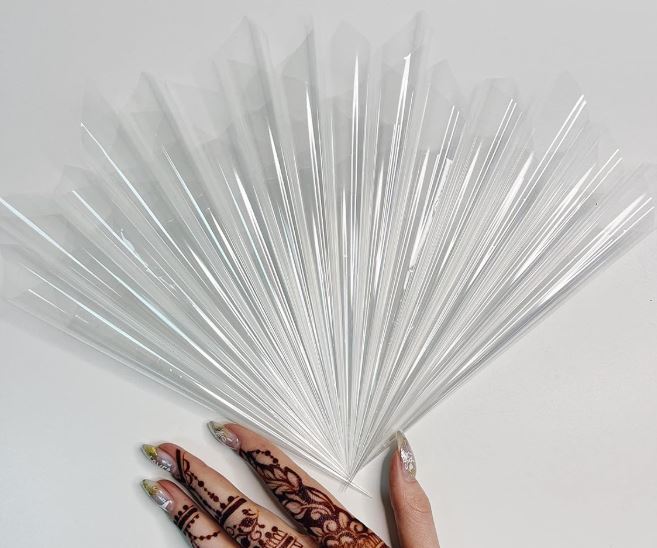
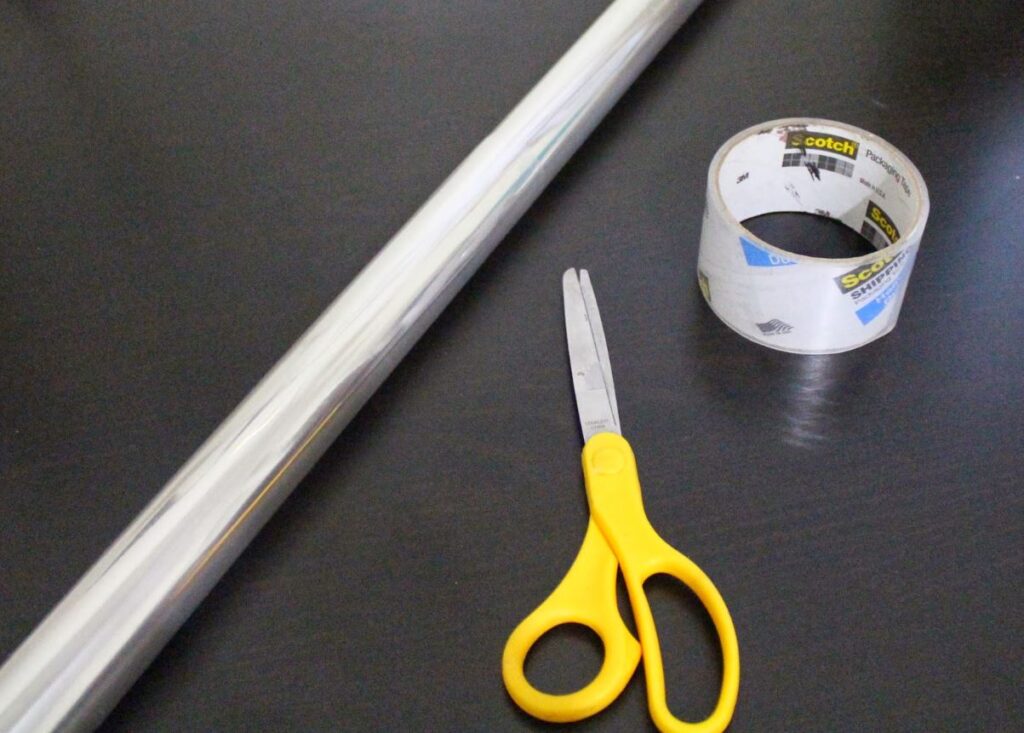
- Transparent plastic sheet (thick and durable for cones)
- Scissors
- Cello tape or adhesive tape
- Henna paste (freshly prepared)
- Rubber band or tape for sealing
Step by Step Guide to Make Mehndi Cone at Home:
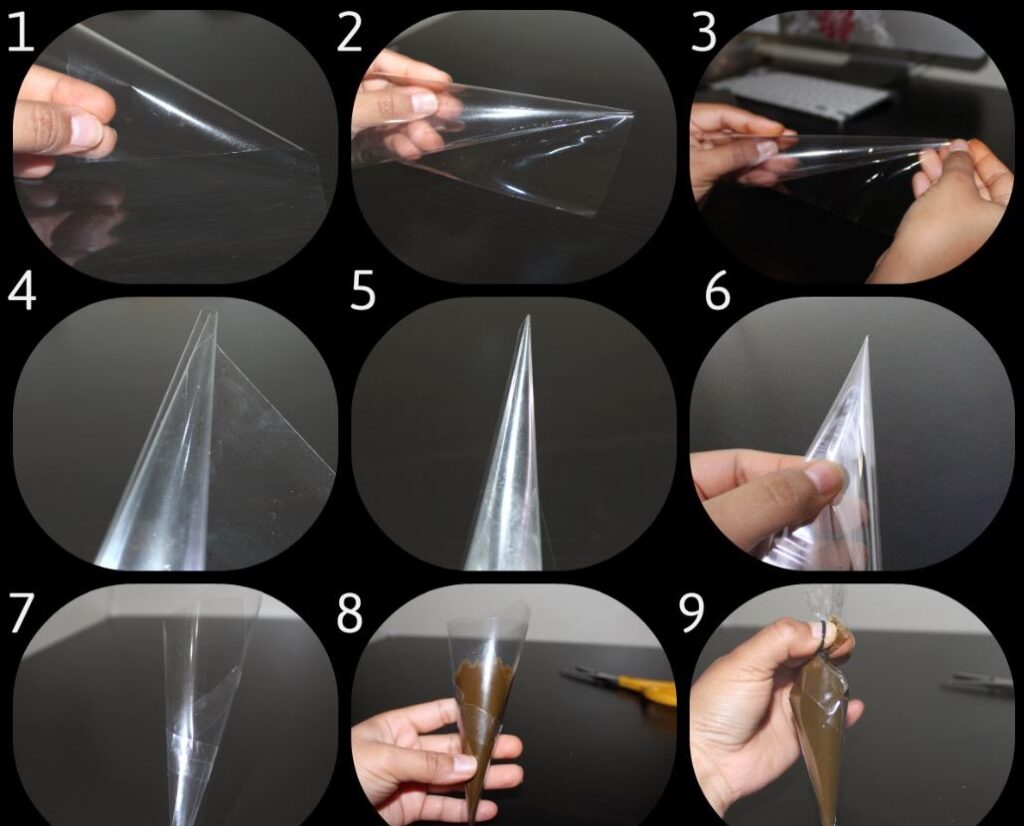
Step 1: Cutting the Plastic Cover:
- Take a clean plastic sheet.
- Cut it into a rectangle or square shape.
- Make sure the edges are straight to avoid uneven cones.
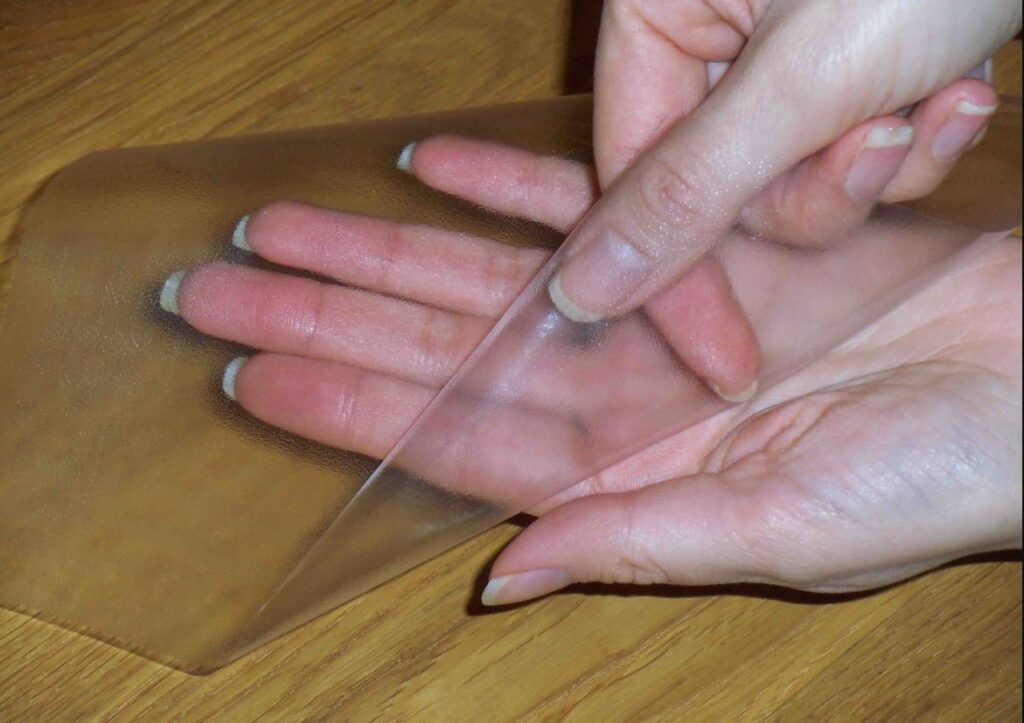
Step 2: Rolling the Cone Shape:
- Hold one corner of the plastic and start rolling it diagonally.
- Keep rolling until a sharp pointed tip forms at the bottom.
- Adjust the width according to how thin or thick you want the cone.
- The tip must be tight and closed so henna doesn’t leak.
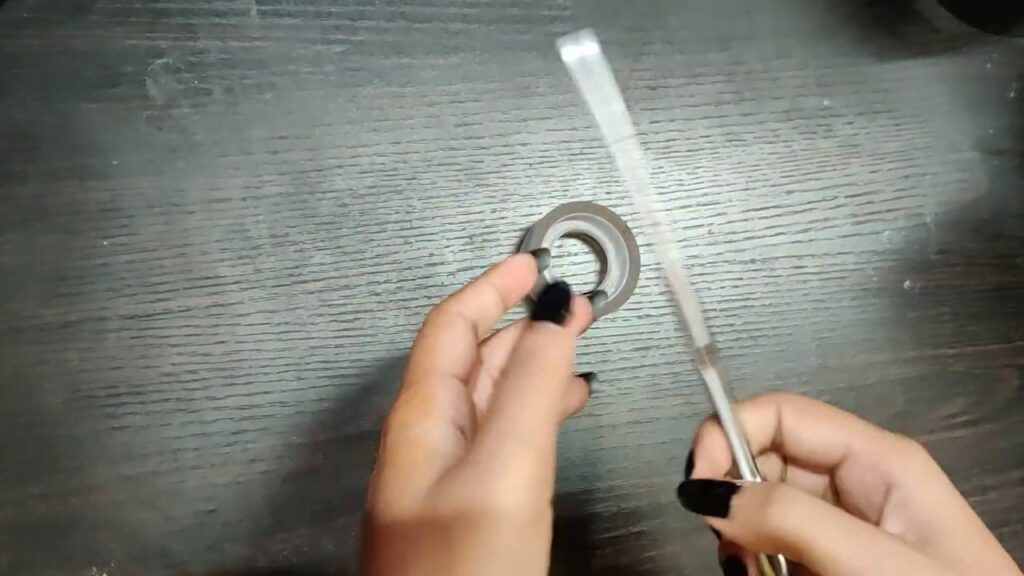
Step 3: Securing the Cone:
- Once the cone is shaped, use cello tape to secure the edges.
- Make sure there are no gaps or openings.
- The top of the cone should remain open for filling.
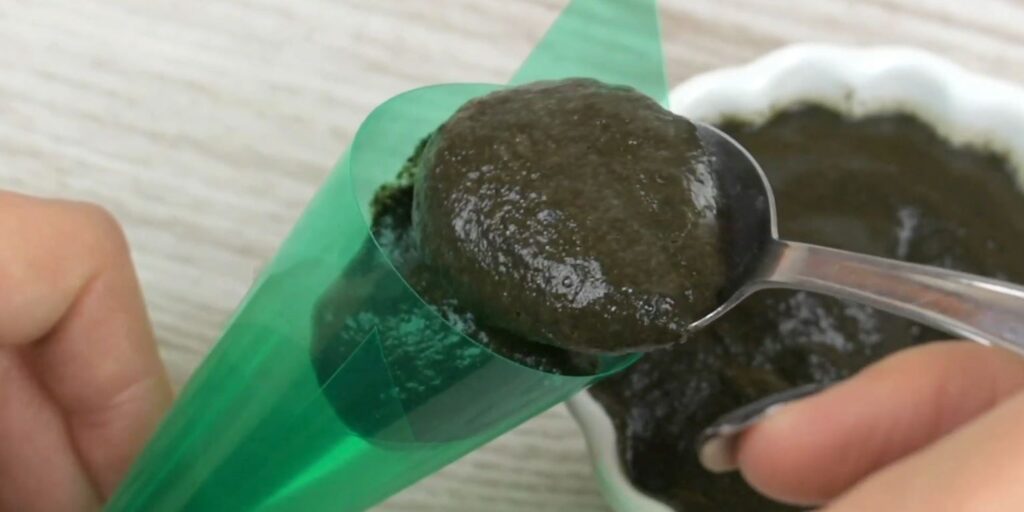
Step 4: Filling the Mehndi Cone:
- Take freshly prepared henna paste.
- Using a spoon, fill the cone from the top.
- Do not overfill—leave enough space to fold and seal.
Step 5: Sealing the Cone:
- Fold the top of the cone neatly.
- Secure it with tape or a small rubber band.
- Your homemade mehndi cone is now ready for use!

Video Tutorial for Better Understanding:
If you prefer visuals, check out the full step-by-step video tutorial here:
This will help you understand the rolling technique and filling process more clearly.
Tips for Best Results:
- Use thick plastic covers so cones don’t tear easily.
- Always make the tip extra tight for smooth henna flow.
- Prepare mehndi paste a few hours before for darker stains.
- Store cones in the fridge if not using immediately.
FAQs About Mehndi Cones:
Q1. Can I use any plastic to make mehndi cone?
Yes, but it’s best to use cellophane or durable transparent plastic for a smoother finish.
Q2. How long does a homemade mehndi cone last?
If refrigerated, it can last up to 2 weeks. Fresh cones give the best color.
Q3. Why is my mehndi cone leaking?
This usually happens if the tip is not rolled tightly or if the tape is loose.
Q4. How do I make the cone smaller?
Cut the plastic sheet smaller before rolling.
External Resources for More Information:
- Front Hand Easy and Beautiful mehndi designs
- 100+ Simple Mehndi Design Easy and Beautiful 2025
- Simple mehndi design easy and beautiful 2025 for every festival
- Top 10 Mehndi Design Easy And Beautiful Photos For Eid 2025
- Best henna designs simple front hand easy and beautiful 2025
- Best Arabic Mehndi Design Simple Front Hand Easy and Beautiful
- which type of mehndi design is best?
- 100+ Best Front Hand Mehndi Design Easy and Beautiful Simple Mehndi Designs
- 10 Best Back Hand Mehndi Design Simple Bridal Mehndi Design
- Top 100+ Arabic front hand simple mehndi design arabic mehndi design easy and beautiful
- Bridal mehndi design simple 2025 easy and beautiful simple mehndi design
- 100+ front hand simple mehndi design tikki easy and beautiful images
- Best Finger Mehndi Design easy and Simple mehndi design in 2025
- Best simple mehndi design wedding mehndi design 2025
- How to make simple mehndi design at home step by step for beginners 2025
- Top 100+ Mehndi Design Latest Easy and Beautiful Simple Mehndi Design
- Top 10 mehndi design easy and beautiful for Front Hand in Arabic Style
- How to Make Homemade Mehndi Cones with Plastic Covers – Easy Step by Step Guide with Video
Conclusion:
Making a mehndi cone at home is simple, fun, and cost-effective. With just a plastic cover, tape, and henna paste, you can create professional-quality cones that are ready for use at weddings, festivals, and parties.
Try this method today and enjoy creating your own unique henna designs with a cone made by you!